

As hopefully I've laid out in previous posts, the Skaven offer a very unique play experience. They have definite strengths and weaknesses that dictate how they work on the tabletop and many of these affect how lists are built as well. Let's briefly summarize the previous articles and then talk about the overall tactics and sample army lists for a Skaven army.
As for my delinquent deadline I quote the phrase made famous with Get Smart, "I missed it by that much!"
As mentioned previously the Skaven army is a horde army that relies on vast numbers of inferior or, at best, mediocre, infantry to swarm the opponent and slowly grind them down. When run in large numbers they have exceptional leadership but, the longer the war of attrition goes on the more unrealiable their forces become. Skaven magic is largely offensive in nature with plenty of spells that work similar to magic missiles, direct damage, or template spells but offer very little defense of any sort. Skaven armies often rely on the leadership of Grey Seers in large games and Plague Priests, Warlords, and Chieftains for smaller games. The army itself is largely comprised of slaves and clanrat units built to stall enemies while stronger units set themselves up for flank charges. Additionally, Skaven bring many unique and dangerous devices to the tabletop that put wary generals on-edge or catch inexperienced generals off-guard. A Skaven general must balance all of these factors to ensure the force has the apropriate numbers while maintaining enough heavy hitting units and magical support to cause enough damage and sow enough chaos in enemy lines to bring home victory on the tabletop.
Common Questions
Q: How does one know if they have enough boots on the ground in their Skaven lists?
A: The general concensus is that a Skaven list should have one model for every 10 points. Now, this is a "ballpark" number and if you are under or over it by 10% or so, that is fine. Any more and the list may not have the appropriate hitting power to break enemy units and and less and it likely lacks the number of steadfast units to lock enemies in combat.
Q: How many is too many crazy devices, weapon teams, etc?
A: Avoid unecessary weapon teams. Go for the best "bang for the buck" teams and I caution against using more than two in games smaller than 3000 points. Weapon teams have a very slim margin for earning their points back already since opponents can target them individually and they are easy to kill. As for other devices, they are certainly optional but the Doom Rocket is the best of the bunch due to the range. Brass/Death orbs require really close range and thus, usually, require skitterleap to accomplish their goals. Doom Rockets become less reliable without skitterleap but can still be used to target large blocks.
Q: Is there a preferred ratio of steadfast block units to traditional hammer units for Skaven?
A: Not really. Skaven should possess 3-4 steadfast blocks (busses) in a standard 2500 point army. These could be clanrats or slaves with the large difference between the two being how long they need to last in combat. Similarly the Skaven army should have 3-4 hammer units as well. Skaven hammers include Stormvermin, Plague Monks, Hellpit Abominations, Rat Ogres, and, to a limited extent, Doomwheels.
Q: Should Skaven focus on ranged combat or melee combat?
A: Like all things in life, moderation is best. A completely ranged Skaven list just won't work in 8th edition and using units from the current army book. Try and mix things up and use some ranged (specifically the WLC) and some melee. Due to the options available Skaven lists will center more on melee but adding ranged components may help thin enemy numbers down and ensure steadfast for the Skaven side. A completely melee centric list can actually work for Skaven however. If a general decides to forgo shooting altogether, take the Storm Banner and some casters with Ruin spells to try and access Howling Warpgale. These will limit the usability of enemy ranged units while the Skaven army approaches.

Deployment
The Standard Battleline
A Skaven battleline will often look similar from game to game. The controlling factor for this is that Skaven bring a large number of units and can easily fill up their deployment zones with a sea of models. Usually a large core of steadfast units will comprise the core of the lines with skirmishers, monsters, and placement drops on the flanks. The basic reason for this is to allow all the steadfast blocks to benefit from the general's Inspired Leadership while most of the other units have higher leadership scores and thus, don't require as much help. Now, there are a couple of formations open to skaven players that should be considered.
Maniple Battle Line
This formation draws its name from the early Roman fighting formations and consists of recessed units. The clanrats will sit back from the battleline of slave units which will receive charges. The key is to slightly turn the slave units to expose the flanks of any units that may charge them to the clanrats. This formation also allows the general and various weapon teams more protection from charges since they will be moved back from the immediate battleline. The downside is that the Skaven will be more than 24" away and this is a mroe reactive battle strategy than a proactive one.

Castle Battle Line
A castle battle line is essentially a standard battle line but one that take the general, puts him into a "castle" formation unit and then sticks that unit behind the rest of the battle line. The advantage of this is that it allows the skaven to deploy in multiple layers and thus, compress their battle line and usually increase the number of units affected by Inspired Leadership. The downsides are that the general rarely contributes directly to the battle until very late in the game and if an enemy can sneak around the Skaven lines with a dangerous unit such as Mournfang Cavalry the general is toast.
Monster-Wings
Monster Wings can use any of the formations for the central core of the battle line (standard, maniple, castle, etc) but BOTH flanks will have either a HPA or Doomwheel to shore them up and prevent flanking maneuvers.
Monster Core
Monster core replaces the central core of the battle line with multiple monsters, usually HPAs. The Tarpit units form up outside of that. Usually the general will be present in a castle unit behind enemy lines.
Tactics
Tactics will differ based on the actual list and the battline formation used for deployment. Some general guidance though will be to move the slaves and any tarpit clanrats forward from the rest of the army. Don't get too far ahead, the rest of the army should only be a move behind the tarpits. Use redirect units like rat darts, lone warlock engineers, rat swarms, etc to try and expose flanks to the tarpit units but, ultimately, if the Skaven army must accept charges they should be directed at tarpit units like slaves and clanrats before the hammer units. When moving forward, always tilt the the units you expect to receive a charge so as to expose the flanks of enemy units to the other skaven units. Try and avoid opponents charging multiple units as this means the Skaven army has fewer units to tarpit the enemy with.
Flank units should either run straight down the flank and take on enemy ranged units, war machines, or reserves or they should try for flank charges on enemy units tied up by the main battleline. Only charge doomwheels, giant rats, and other non-hammer flankers into enemy units if there is no actual hammer unit with access to that flank charge arc. If opposed by enemy flankers then tie them up with friendly flankers and, if it looks like they will lose and the flanks collapse, maneuver friendly units into the proper position so as to face potential flankers and keep the Skaven flanks protected. Skaven can't take flank charges so make sure they are well protected!
Once battle has been joined remember a few key rules for Skaven. First and foremost don't forget static combat resolution. Skaven should always have a +3 or +4 combat resolution modifier with the only variance being the availability of a standard (in the case of slaves). Secondly, remember that Skaven leaders can lead from the back. This is important when they Grey Seer is challenged to combat with a combat monster lord. Simply refuse, move the Seer to the back, and enjoy keeping his leadership bonus with almost no downside. Next, remember that units can fire into combat with slaves. This is important to remember as it will allow the Skaven army to whittle down the enemy forces to a manageable number. Remember, the key is attrition! Skaven will rarely break an enemy unit on the charge.
As the battle becomes a swirling mix of fur and blood keep the following general tactics in line. Unless accompanied by a character, and even then consider it carefully, Skaven should never purposefully flee from combat. They just don't have the leadership to support this method of combat that is reserved for more elite forces. Use the Skaven canniness and trickery to full advantage. Skaven offer a number of underhanded tactics, weird devices, and multiple avenues for their spells. Don't hold back! As far as Horde armies go, Skaven reward a cautious offensive mindset as opposed to a pure defensive mindset.
I was originally going to post some lists, but I think this post is long enough. So in the coming weeks I will post a few Skaven sample lists. Also, for 2013 I am going to focus on writing a few tactics articles focused how Skaven should work versus various opponents and what those opponents can do to defend against Skaven.
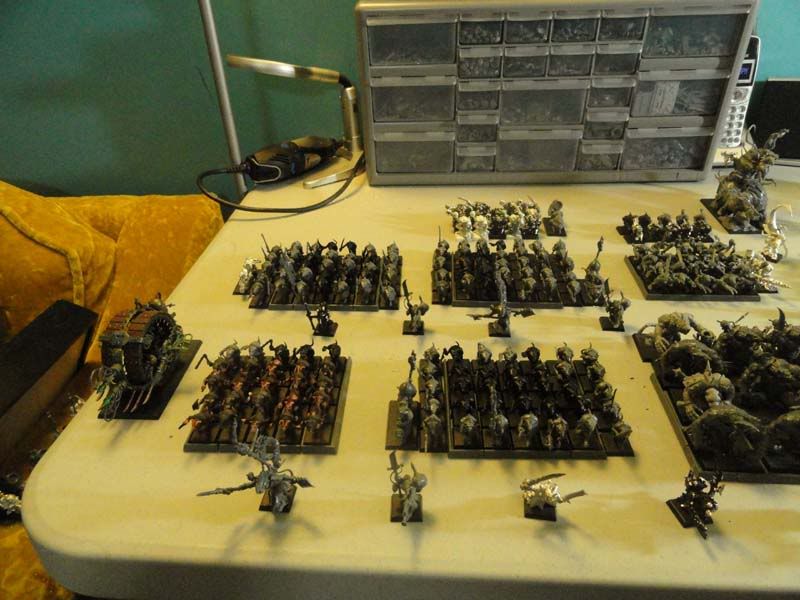
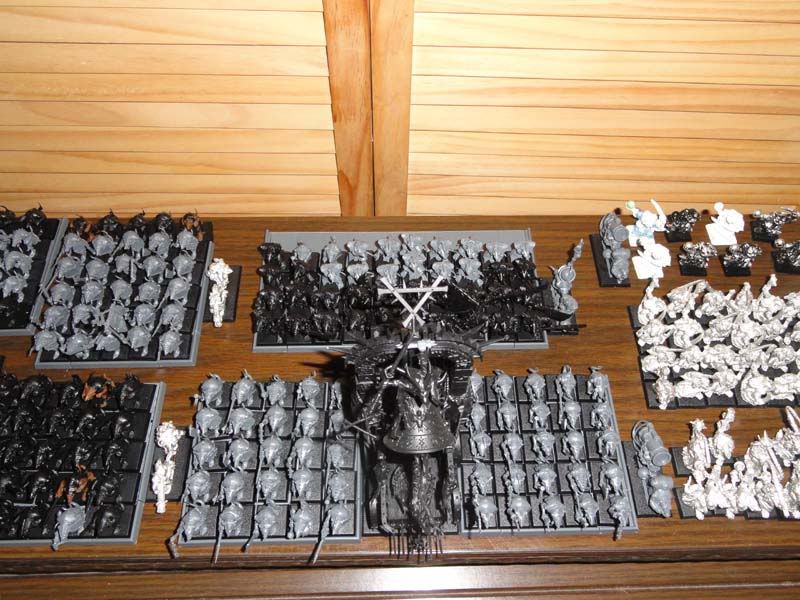
Here's to a great new year full of miniatures, games, and hordes of cowardly ratmen! Here is a brief glimpse of the latest project for my horde of ratmen...
 |
| Base for my Grey Seer |


0 Comments